Clean up your ProTools session - The Basics
- Andy Leeder

- Jul 25, 2018
- 4 min read
Reducing the file size of your PT session is basically a must-do if you're going to upload it to the cloud, give it to someone for collaboration, or simply store it once the project is finished. Who wants a 25Gb of storage taken up by a single track right?
Having had to do many of these myself, I've taken it upon myself to look up how to navigate ProTools 2018 to reduce my file size and get rid of the tracks, playlists and clips I no longer need. Having recently done a presentation to some of my audio peers on this topic and received some good feedback and thanks, I've decided to write this little 'how to'!

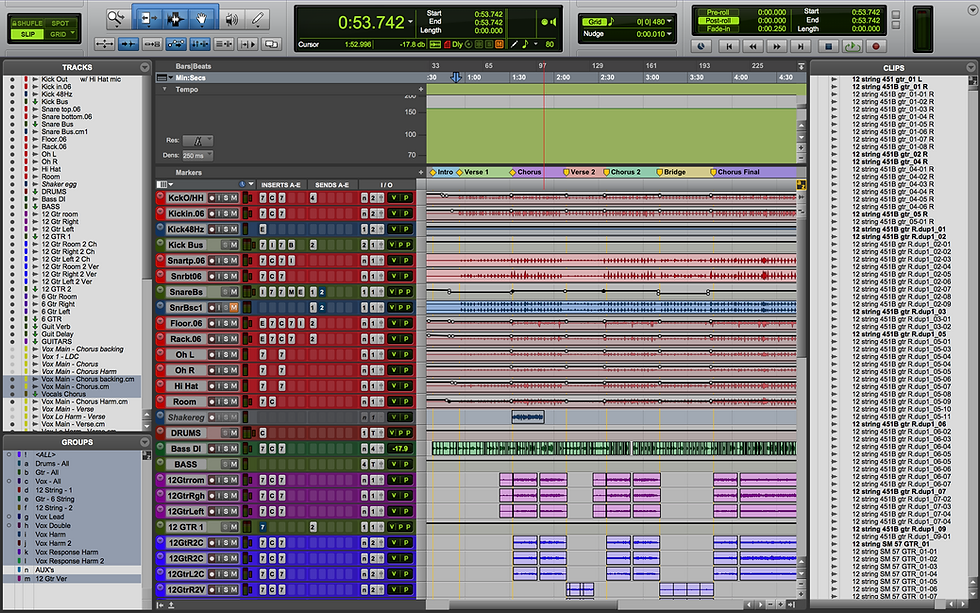
This is a recent medium sized session of mine, it's 9.28GB in it's 'pre-cleanup' state, that includes all of the main tracks, playlists and unused audio clips. Lets go through the steps to take this from a full 9.28GB file, down to around 2Gb!
What this will do for you:
At the end of these steps, you will have a separate copy of your session with minimal file size, you will not have affected the original session - though if you want to you can simply delete that one afterwards and you've saved that disk space, but you'll have forever lost all the playlists and audio that are not being used in the main playlist (I do this only when the project is complete and released - so I'm sure that I won't need to go back to adjust anything).
Step by step!
So you've comped your playlists, you're happy with your main playlist and no longer need to keep the playlisted takes of drums, bass, vocals or whatever else! Here's how you take care of those superfluous space taking extra audio files.

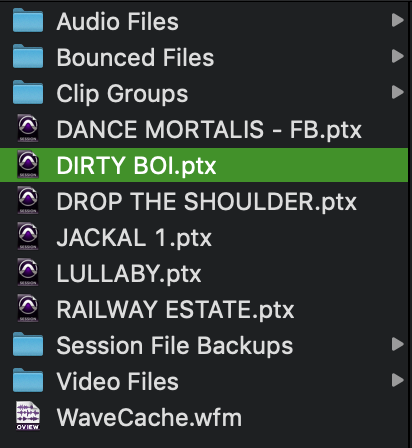
1. Do a quick 'Save As' - add something like 'cleaned up' to the name. Make sure you do this so not to affect your other .ptx session files.
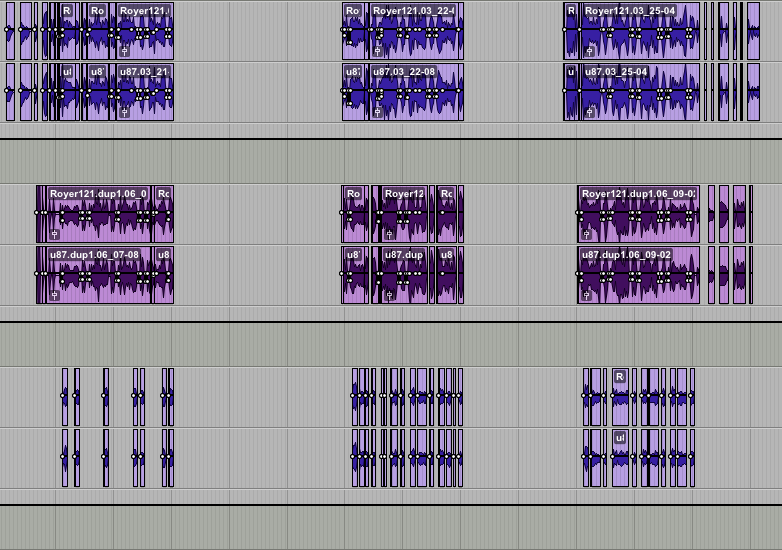
2. Leaving your track to display waveforms (not playlists). Hit the arrow next to the track name and select 'Delete Unused...'

3. Shift select all tracks and hit 'delete' in the bottom right - This will delete all of the playlists that are not openly showing in your session. If you are only showing the waveform of the main playlist, that is all that will remain! However the audio you just deleted will still remain in the ProTools file, you must perform the next steps to fully delete these files from your session.

You've now deleted all of your unused playlists, but remember you haven't deleted the unused audio files that were in the playlists yet, your session size has not decreased, but you have gotten those playlist files ready to be deleted.
4. Hit the arrow with a line next to it, in the bottom right of the session - This will bring up your 'clips' view, showing all the audio files that are in your session, used or unused. Then use the short cut 'shift-command-U' to select all unused audio files, or follow the diagram below to get to that in the clips menu.


Now you'll notice probably a lot of the files in that list are selected, those are all the audio files in your session that are not audible at any point in your session - hence your unused files.
6. You can now use the same menu to select 'Clear...', or simply the shortcut 'shift-command-B', this will bring up a dialogue box asking you to confirm that you want to remove all of your selected clips from the session.

'REMOVE' - This option will remove the clips from that .ptx session only - That means that all the audio will still be present in your current ProTools session, Select this option.
6. Last step! go 'File>Save Copy In' and select the 'Audio Files' box as I've done below - Hit 'OK', This will create a new PT session somewhere else (as you specify) that has the reduced file size, while preserving your old session as it was (But delete it if you no longer need it to save your disk space!).

The new session will then be created (it may take a few minutes)

And Voila! your new session should have a much lower file size (depending on how much unused audio you had) - As for me, this session went from 9.28GB down to 1.6GB! Wow!

**site note: If your session has not decreased as much as you expect, try the 'shift-command-B' - 'shift-command-U) process again and hit delete, sometimes doing this one more time is necessary**
Now you're ready to zip it and send it online, pass it on to a friend or simply have more space on your machine. This helped out my peers during the session I lead, and I hope it helps you out too!
-Andy Leeder
Bibliography:
Erskine, I. (2015). How to cleanup a Pro Tools session to send over the internet. [online] YouTube. Available at: https://www.youtube.com/watch?v=WhqOgqD82fY [Accessed 25 Jul. 2018].
Recording Revolution. (2010). Optimize Pro Tools: Shrink Your Session Size - Recording Revolution. [online] Available at: https://www.recordingrevolution.com/optimize-pro-tools-shrink-your-session-size/ [Accessed 25 Jul. 2018].


You hit on such a crucial point about the necessity of reducing ProTools session file sizes, especially when collaborating or archiving. It's a workflow step many overlook, leading to unnecessary storage strain and slower transfers. Your approach to preserving the original while creating a lean copy is smart, particularly when you might need to revisit unused playlists later. Beyond just session cleanup, there are also times when the final output requires further optimization for web use or sharing, often involving converting the audio to a more universal, compressed format. For those specific needs, having a reliable resource for efficiently converting audio to MP3 can be incredibly helpful.